The dreaded “check engine light” – a glowing amber symbol on your dashboard that can strike fear into the heart of any car owner. It’s a universal signal that something is amiss under the hood, but what exactly? While it’s tempting to ignore it, or hope it goes away on its own, a constantly illuminated check engine light is a clear indication that your vehicle needs attention. And when it comes to troubleshooting, understanding potential culprits, like a specific part number, can be incredibly helpful.
Let’s dive into the common reasons your check engine light might be on constantly, what that mysterious part number could refer to, and the steps you should take.
Why is Your Check Engine Light On? The Usual Suspects
The check engine light is triggered by your car’s On-Board Diagnostics (OBD-II) system, which monitors various sensors and components to ensure everything is operating within specified parameters. When a sensor detects an out-of-spec reading or a malfunction, it stores a diagnostic trouble code (DTC) in the car’s computer and illuminates the light. Here are some of the most frequent offenders:
Loose or Faulty Gas Cap: This might seem too simple, but it’s surprisingly common. A loose or damaged gas cap can allow fuel vapors to escape, affecting the fuel system’s pressure and triggering the check engine light. Always check this first!
Oxygen Sensor Failure: The oxygen (O2) sensor measures the amount of unburned oxygen in your exhaust system. This data is crucial for the engine’s computer to optimize the air-fuel mixture. A faulty O2 sensor can lead to decreased fuel efficiency, increased emissions, and damage to the catalytic converter.
Catalytic Converter Problems: The catalytic converter is a vital component of your car’s exhaust system, converting harmful pollutants into less toxic gases. If it’s failing or clogged, it can significantly impact engine performance, fuel economy, and cause the check engine light to illuminate. This is often an expensive repair.
Spark Plug or Ignition Coil Issues: Spark plugs ignite the air-fuel mixture in the engine’s cylinders. If they are worn out or the ignition coils (which provide the high voltage to the spark plugs) are failing, it can lead to misfires, rough idling, reduced power, and, yes, a check engine light.
Mass Airflow Sensor (MAF) Malfunction: The MAF sensor measures the amount of air entering the engine. This information is critical for the engine control unit (ECU) to deliver the correct amount of fuel. A faulty MAF sensor can cause rough idling, stalling, poor acceleration, and increased fuel consumption.
EGR Valve Problems: The Exhaust Gas Recirculation (EGR) valve helps reduce nitrogen oxide emissions by rerouting some exhaust gas back into the engine’s cylinders. A clogged or malfunctioning EGR valve can cause rough idling, poor performance, and potentially lead to engine knocking.
Vacuum Leaks: Your engine relies on a complex system of vacuum hoses. If one of these hoses develops a leak, it can disrupt the air-fuel mixture, leading to rough idling, hesitation, and a check engine light.
Understanding “Check This Part #”
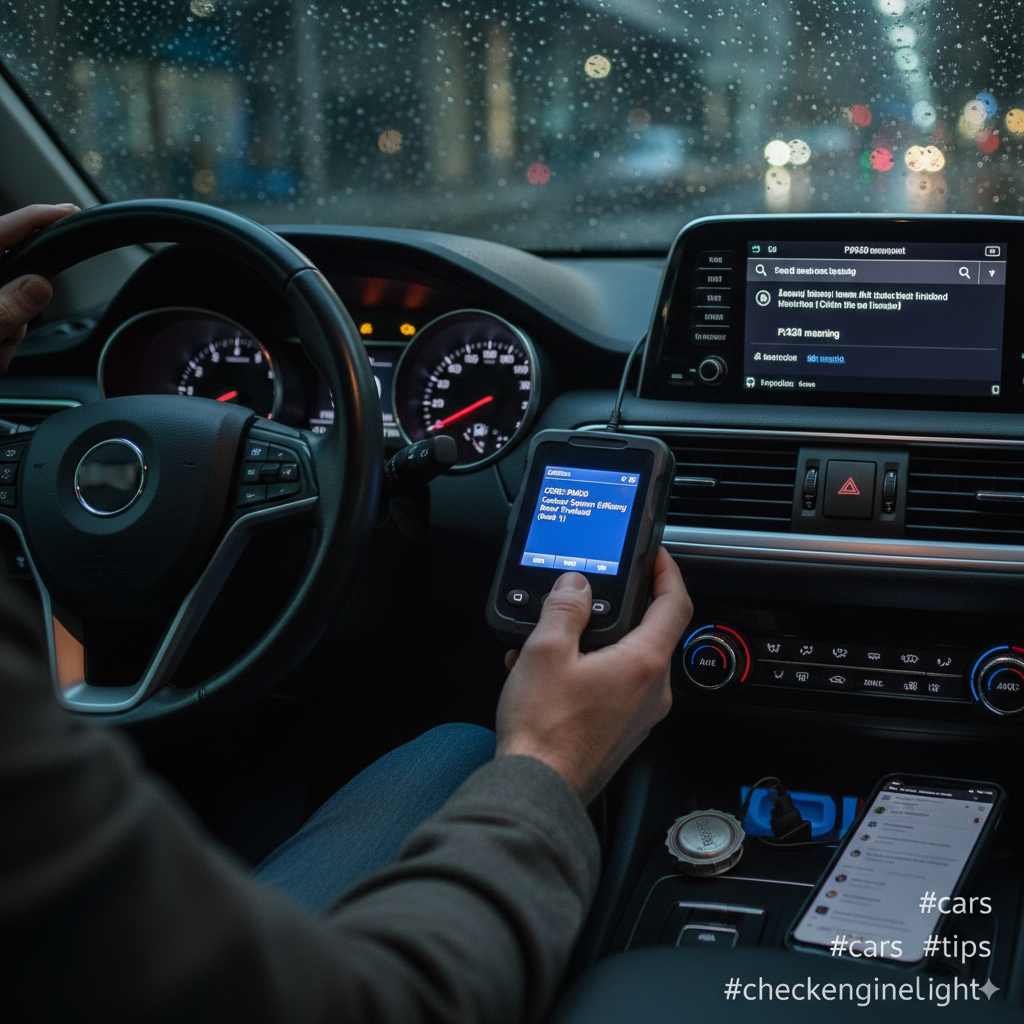
When you see a specific “part #” mentioned in relation to a constantly illuminated check engine light, it almost certainly refers to a Diagnostic Trouble Code (DTC). These codes are standardized (P-codes for powertrain, B-codes for body, C-codes for chassis, U-codes for network communication) and pinpoint the specific system or component that has a fault.
For example, a common P-code related to the oxygen sensor might be P0133 (O2 Sensor Circuit Slow Response – Bank 1 Sensor 1). The “part #” isn’t the physical part itself, but rather the unique identifier for the fault detected by your car’s computer.
To get this “part #” or DTC, you’ll need an OBD-II scanner. These devices plug into a port usually located under the dashboard on the driver’s side. Many auto parts stores will read these codes for free as a service.
Steps to Take When Your Check Engine Light is On (and You Have a Part #)
Don’t Panic (Initially): A solid check engine light often indicates a non-critical but important issue. A flashing check engine light, however, signifies a severe misfire that could damage the catalytic converter – in this case, reduce speed, avoid heavy acceleration, and get to a mechanic immediately.
Check Your Gas Cap: Seriously, do it. Tighten it until it clicks. Drive a few cycles (start, drive, stop) and see if the light resets itself.
Get the Code Read: This is crucial. Borrow or buy an OBD-II scanner, or take your car to an auto parts store or mechanic to have the DTCs pulled.
Identify the “Part #” (DTC): Once you have the code (e.g., P0420, P0301), look it up. A quick online search for “P0420 meaning” will give you a wealth of information about the potential causes and solutions. For instance, P0420 typically points to “Catalyst System Efficiency Below Threshold (Bank 1),” indicating a potential issue with your catalytic converter or the O2 sensors monitoring it.
Research and Diagnose (If You’re DIY-Savvy): With the code in hand, you can narrow down the potential problems. Many resources online (forums, YouTube tutorials, repair manuals like Haynes or Chilton) can guide you through diagnostics for specific codes. For example, if the code points to an O2 sensor, you might find guides on how to test the sensor’s voltage output.
Consider the Symptoms: Does the car feel different? Is it running rough, consuming more fuel, or making strange noises? These symptoms, combined with the DTC, can help confirm the diagnosis.
Repair or Seek Professional Help:
Simple Fixes: If the code points to something minor like a loose vacuum hose or a spark plug, and you’re comfortable with basic car maintenance, you might be able to tackle it yourself.
Complex Issues: For more involved repairs, or if you’re unsure, it’s always best to consult a qualified mechanic. They have specialized diagnostic tools and expertise to accurately identify and fix the problem. Providing them with the “part #” (DTC) you’ve already pulled will save them time and potentially save you money.
Clear the Code (After Repair): Once the repair is made, you can clear the DTCs using your OBD-II scanner. The check engine light should then turn off. If it comes back on, it indicates either the repair wasn’t successful, or there’s another underlying issue.
Preventative Measures
While some failures are inevitable, you can reduce the likelihood of your check engine light constantly illuminating by:
Regular Maintenance: Follow your car’s recommended service schedule. This includes oil changes, spark plug replacements, air filter changes, and fluid checks.
Use Quality Fuel: Stick to reputable gas stations and use the octane level recommended by your manufacturer.
Keep Your Gas Cap Tight: A simple habit that can prevent a common issue.
Address Issues Promptly: Don’t ignore minor symptoms like rough idling or decreased fuel economy. Early intervention can prevent more costly repairs down the line.
The check engine light, while annoying, is ultimately a helpful messenger. It’s your car’s way of telling you it needs attention. By understanding what it means and how to interpret the diagnostic trouble codes (your “part #”), you can approach the problem systematically and get your vehicle running smoothly again.