A vision board is a powerful visualization tool that helps you clarify, focus on, and maintain your intention for specific life goals. By creating a collage of images, affirmations, and quotes, you are essentially creating a visual representation of your desires, making them more tangible and achievable. This guide will walk you through the process of creating an effective vision board that resonates with your aspirations and helps you manifest your dreams.
Step 1: Clarify Your Vision
Before you even pick up a magazine or open a digital canvas, the most crucial step is to gain absolute clarity on what you truly want. This isn’t about vague ideas; it’s about drilling down into specific, heartfelt desires.
Self-Reflection and Brainstorming:
Areas of Life: Consider different areas of your life: career, relationships, health, finances, personal growth, travel, spirituality, education, hobbies, and home environment.
What Do You Desire? For each area, ask yourself: What would my ideal life look like? What experiences do I want to have? What feelings do I want to feel? What achievements do I want to celebrate?
Be Specific: Instead of “I want to be rich,” think “I want to earn $10,000 a month passively” or “I want to have a net worth of $1 million by age 40.” Instead of “I want to be healthy,” think “I want to run a marathon,” “I want to feel energetic every day,” or “I want to eat a plant-based diet.”
Journaling: Dedicate time to journal about your dreams. Write freely without judgment. This process helps unearth your deepest desires and brings them to the forefront.
Meditation/Visualization: Spend time in quiet meditation, visualizing your ideal future. What do you see, hear, feel, and even smell in that future? The more vivid your internal vision, the easier it will be to find external representations.
Pro-Tip: Don’t limit yourself to what seems “realistic” right now. A vision board is about dreaming big. Let go of self-doubt and allow yourself to imagine the extraordinary.
Step 2: Gather Your Materials
Once your vision is clear, it’s time to collect the elements that will bring it to life. You have two main options: a physical board or a digital one.
For a Physical Vision Board:
Board: A corkboard, foam board, or even a large piece of poster board will work. The size depends on how much space you want to dedicate and how many visions you have.
Magazines: Collect a wide variety of magazines—lifestyle, travel, health, business, fashion, home décor, nature. Don’t underestimate specialty magazines.
Printed Images: If you can’t find specific images in magazines, print them from the internet. Google Images, Pinterest, and even personal photos are excellent resources.
Scissors: Sharp scissors for precise cutting.
Adhesive: Glue stick, tape, or pushpins (if using a corkboard).
Optional: Markers, stickers, glitter, fabric scraps, quotes, affirmations printed out.
For a Digital Vision Board:
Platform: Pinterest, Canva, Milanote, or even a simple document in Google Docs or PowerPoint can serve as your canvas.
Image Sources: Pinterest, Unsplash, Pexels, Google Images, your own photo library.
Tools: Digital editing tools for cropping, resizing, and adding text.
Pro-Tip: Start collecting materials even before you’ve finalized your vision. Sometimes, flipping through magazines can spark new ideas or confirm existing desires.
Step 3: Select Your Images and Words
This is where your vision starts to take shape. Be intentional and selective about what you include.
Curating Your Content:
Visual Appeal: Choose images that evoke strong positive emotions and visually represent your goals. Look for pictures that make you feel excited, happy, peaceful, or inspired.
Symbolism: An image doesn’t have to be literal. A picture of a soaring eagle might symbolize freedom or ambition. A winding road might represent a journey of self-discovery.
Affirmations and Quotes: Find or create powerful affirmations that support your goals. For example: “I am financially abundant,” “My body is healthy and strong,” “I attract loving relationships.” Include quotes that inspire you.
Keywords: Single words can be incredibly impactful: “Joy,” “Freedom,” “Abundance,” “Growth,” “Love,” “Peace.”
Personal Photos: Include photos of yourself looking happy, successful, or enjoying activities that align with your vision. This helps personalize the board and makes your goals feel more attainable.
Don’t Overthink It (Initially): In the gathering phase, cut out anything that catches your eye. You can always discard items later.
Review and Refine: Once you have a pile of potential images and words, go through them and select only the most impactful and relevant ones. If an image doesn’t align perfectly with your clarified vision, let it go.
Pro-Tip: Arrange your selected items into piles based on life categories before you start gluing. This helps ensure a balanced representation of your goals.
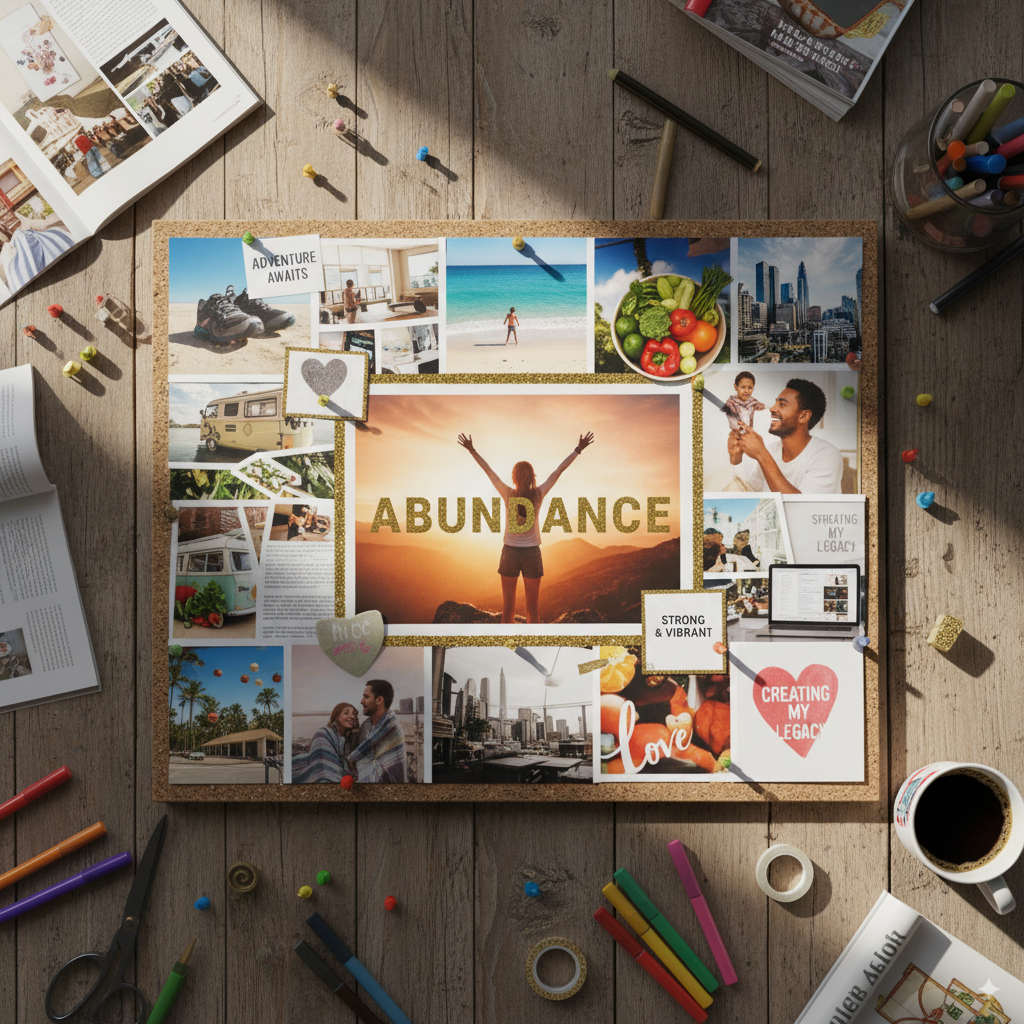
Step 4: Assemble Your Vision Board
Now for the fun part – putting it all together! There’s no single “right” way to arrange your vision board; it’s a personal expression.
Arrangement Tips:
Central Focus: Many people place their most important or overarching goal in the center of the board. This could be a picture of themselves looking happy and successful, or a powerful word like “Abundance.”
Thematic Grouping: Group similar goals together. For example, all health-related images in one corner, career goals in another.
Flow and Balance: Try to create a visually appealing layout. Don’t just stick things on randomly. Play with different arrangements before you commit to gluing or pinning. Ensure there’s a good balance of images and words.
Overlap and Layers: Overlapping images can create a sense of abundance and depth. Don’t be afraid to layer elements.
Fill the Space (or Don’t): Some people prefer a board packed with images, while others prefer some negative space. Go with what feels right for you.
Add Personal Touches: Write directly on the board, draw symbols, or add embellishments. Make it uniquely yours.
Affirmations and Dates: Add a powerful affirmation across the top or bottom of your board. You might also add a target date for your vision (e.g., “By December 31, 2025”).
For Digital Boards:
Utilize the features of your chosen platform to arrange, resize, and add text boxes. Digital boards offer more flexibility for quick edits and reorganizing.
Pro-Tip: Take a photo of your board after you’ve arranged everything (before gluing if using a physical board) to see how it looks from a distance. This can help you spot areas for improvement.
Step 5: Activate and Engage with Your Vision Board
Creating the board is only half the process; the other half is actively engaging with it. Your vision board is not a magical talisman; it’s a tool for consistent focus and motivation.
Placement:
Visibility: Place your physical vision board somewhere you will see it every single day. Above your desk, next to your bed, in your dressing area – anywhere it will catch your eye naturally.
Digital Access: If digital, set it as your computer desktop background, phone lock screen, or print it out and put it somewhere visible.
Daily Interaction:
Review and Visualize: Spend a few minutes each day (morning and evening are ideal) looking at your board. As you look at each image, close your eyes and vividly imagine yourself already experiencing that goal. Feel the emotions of achievement.
Affirmations: Read your affirmations out loud with conviction.
Gratitude: Express gratitude for these desires as if they have already manifested.
Inspired Action: Your vision board should inspire action, not just passive wishing. When you see an image, ask yourself, “What small step can I take today to move closer to this goal?”
Maintenance:
Evolve Your Board: As you achieve goals or your desires shift, don’t be afraid to update your vision board. Remove achieved goals and add new aspirations. This keeps it fresh and relevant.
Trust the Process: The universe works in mysterious ways. Sometimes, things don’t unfold exactly as you pictured, but often, something even better comes along. Maintain a positive mindset and trust the journey.
Pro-Tip: Share your vision board with a trusted friend or mentor. Articulating your goals to someone else can amplify their power and create accountability.
Conclusion
Creating a vision board is a deeply personal and empowering process. It’s more than just a craft project; it’s a declaration of your intentions and a commitment to your future self. By clarifying your desires, carefully selecting imagery, assembling it with purpose, and then actively engaging with your board daily, you create a potent catalyst for manifestation. Allow your vision board to be a constant source of inspiration, guiding your thoughts, actions, and beliefs toward the incredible life you are destined to create.